192.168 1.1 Asus Router setup Wizard : Guidelines to Follow
The users of the Asus Router needs to access the login window page to make any changes to its configuration. There are two types of configuration which the user can change i.e basic and Advanced. Accessing the login window might not be a difficult task but for a new Asus Router users, it would be very Confusing. The users of the Asus Router don’t Need to Worry as some guidelines have been provided in this post for 192.168 1.1 Asus Router setup Wizard. But Still in case if any issue persists while performing these guidelines then visit our official website for Proper Resolution.

Initial Steps for
192.168 1.1 Asus Router Setup Wizard:
- Disconnect
the Power Source of the Modem
- Make
a Connection in between the Router and Modem by using an ethernet
cable
- Now
Make another Connection between the Computer and Lan Port of Router by
using another Ethernet Cable.
- Now
turn on all the devices i.e Router, Modem, and Computer.
Steps
to Access Router Settings:
- Open
the Web Browser on the Computer and enter the default IP Address
ie.192.168.1.1
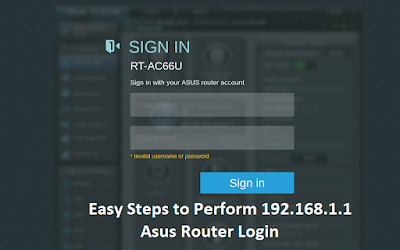
- This
IP Address Will redirect to you to the Router Login Window
- In
the Router Login Window, page enter the Credential i.e. Username and
Password
- By
default, the username and password of login page will be Admin
- Now
log in to the Asus router and Access its Settings.
Final Steps for
192.168 1.1 Asus Router setup Wizard
·
Choose the Internet Connection Type on the Login Window page
·
After that Fill the SSID name and Password for the Asus Router that you
want to create
·
Change the Wireless Channel and Select the Security type for the Router
·
Now All the Settings of the Router Will be displayed on the screen.
·
Click on the Save Button to Proceed and Click on the Finish to complete
the Setup
Comments
Post a Comment